Hartman Pinstriping
  • Harley Davidson
  • About
  • Home
  • Pinstriping Custom Toys Custom Lamps Cool Items For Sale
  • Car Shows
  • Cadillac Cruiser
  • Contact
Hartman Pinstriping
  • Harley Davidson/
  • About/
  • Home/
  • Pictures/
    • Pinstriping
    • Custom Toys
    • Custom Lamps
    • Cool Items For Sale
  • Car Shows/
  • Cadillac Cruiser/
  • Contact/
hubcap7.png
Hartman Pinstriping

Hand Painted Pinstriping

1961 Cadillac Coupe

Hartman Pinstriping
  • Harley Davidson/
  • About/
  • Home/
  • Pictures/
    • Pinstriping
    • Custom Toys
    • Custom Lamps
    • Cool Items For Sale
  • Car Shows/
  • Cadillac Cruiser/
  • Contact/
1961_coupe27.png

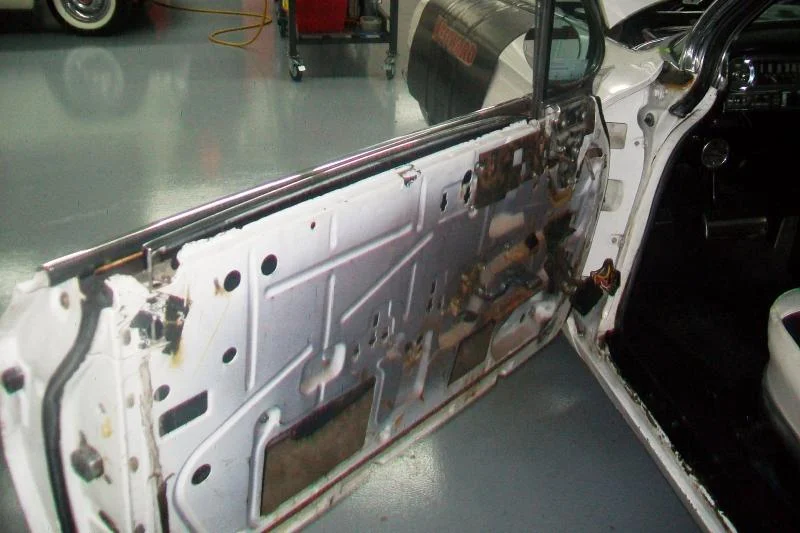
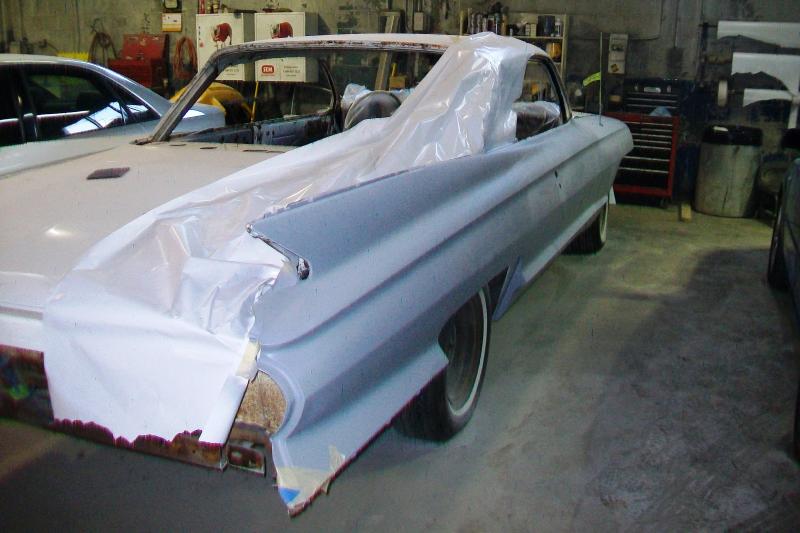
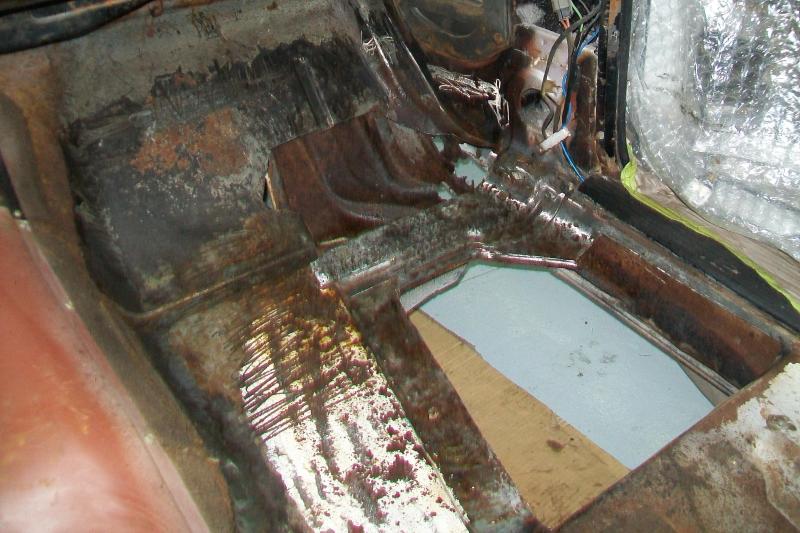
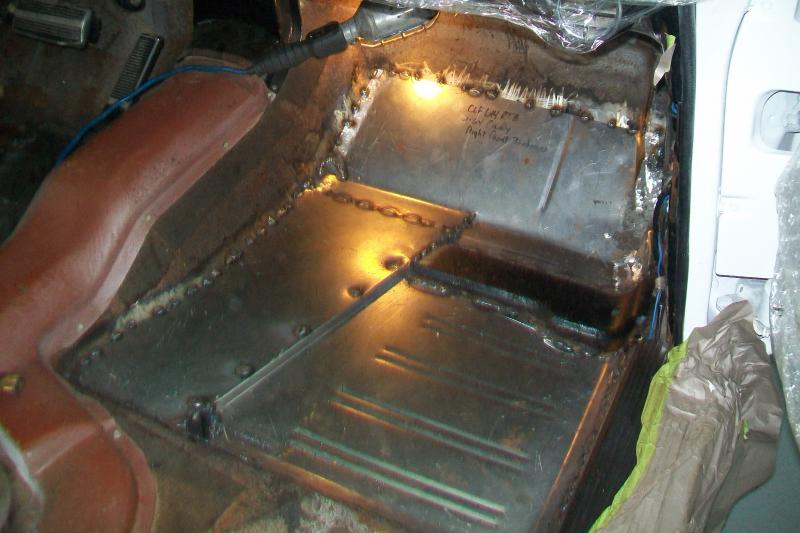
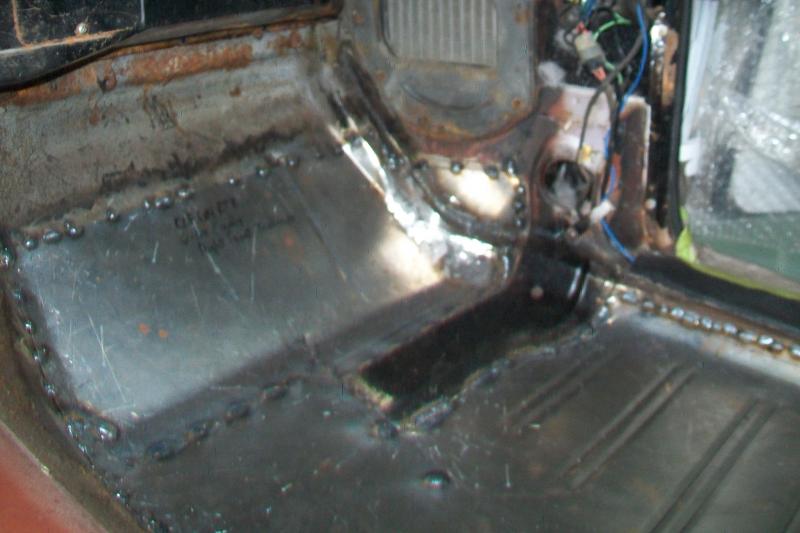
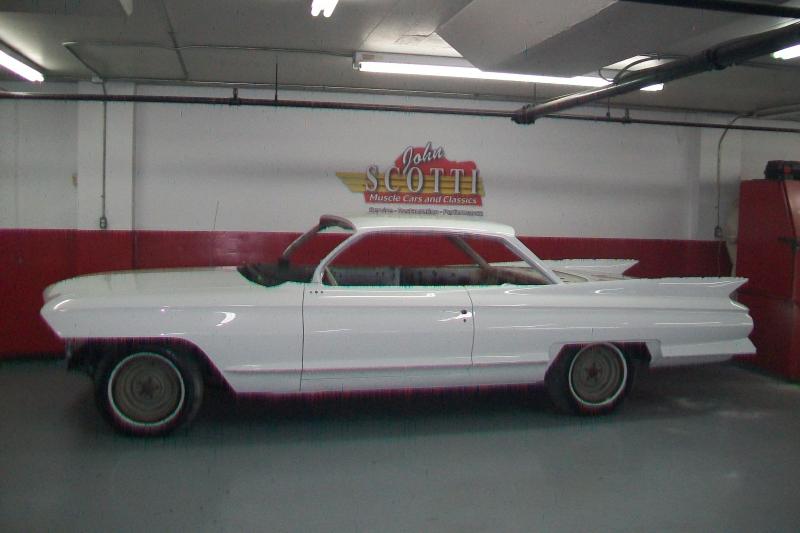
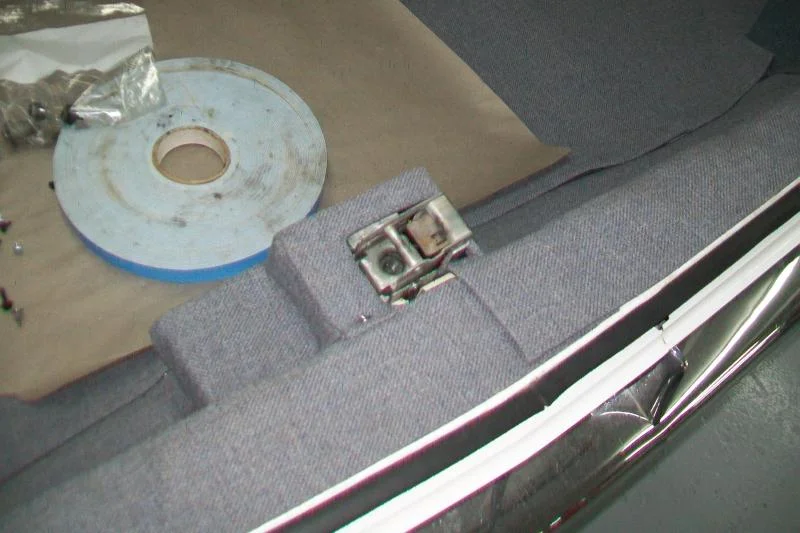
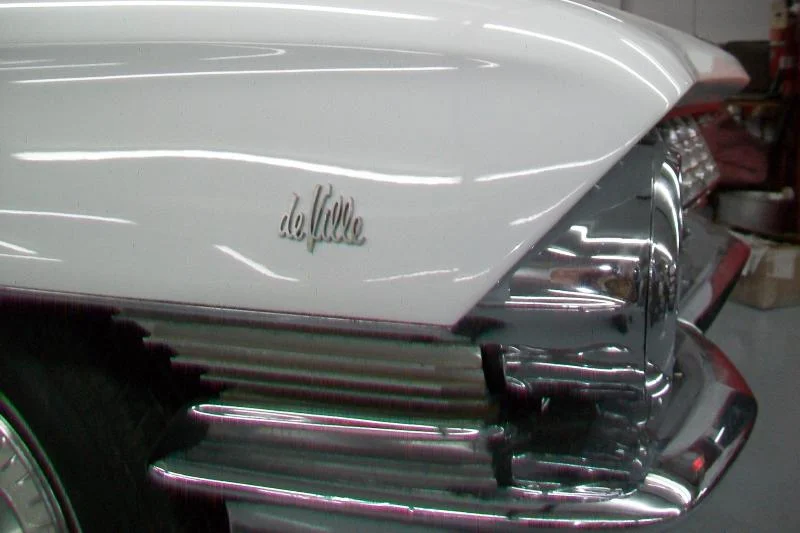
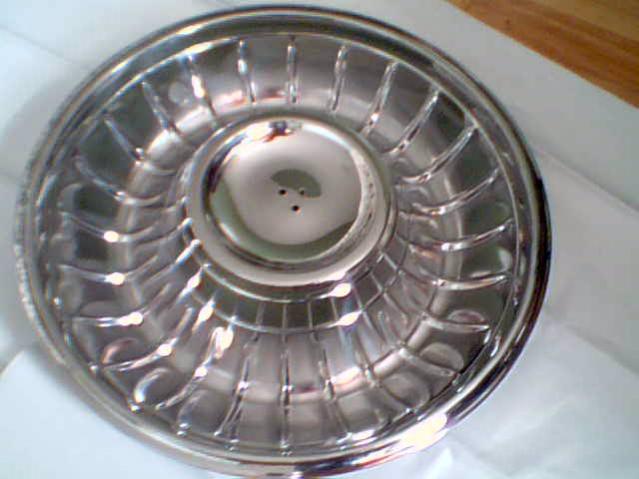
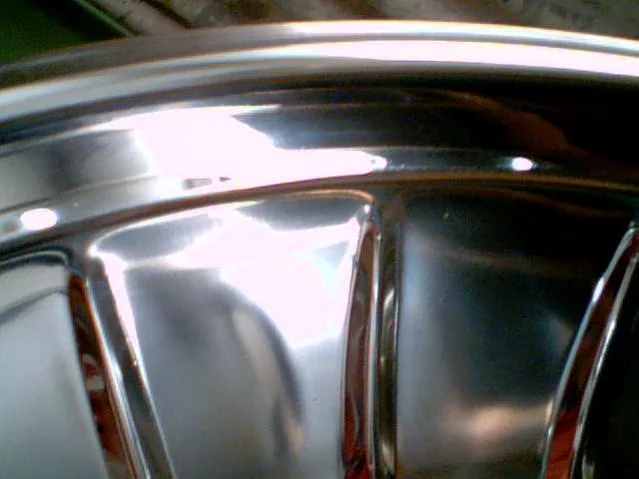
1961 Cadillac Coupe Pictures

(Quebec, Canada)

Click on an image to enlarge

View fullsize  1961 Coupe De Ville (Before)
View fullsize  Left side Stripped of all her trim and garnish.
View fullsize  RR side windows out, as well as the stainless along the roof.
View fullsize  Vent windows out. Of course, the vent window regulators had to be repaired. The vent window handle kept going round and around. You could even push the vent windows open easily with your hand from the ouside.
View fullsize  LF door apart. Both doors were sagging pretty bad, and the hinges had to be repinned.
View fullsize  Rear window. That is a monster of a back window. There is always the fear of this window breaking, it is big and heavy, but it came out with great ease. The 61s were the last of the big rear windows with thin C pillers.
View fullsize  No back bumpers. I wanted to make sure that the under part of the trunk hidden by the bumbers, filler panels and taillight assembly was taken care of too.
View fullsize  No front bumpers. The areas under the tip of the front fender, above and behind the headlights could be problematic. Luckily they were in good shape. Note the right under side of the hood, it looks like it has a fat lip. It was accidented some time
View fullsize  LR tailfin rust. Is there anything worse? This is what lurks under your stainless trim.
View fullsize  Upper rear window rust. When I bought the car, all the rubber was shot. I did not realize this until the first rainfall, and the rain was coming in from everywhere. I had the rubber replaced, but the rust was never tended to and festered for 21 year
View fullsize  Lower rear window rust. It was worse here than on the upper part of the window. I'm lucky that it did not eat all the way through.
View fullsize  Rocker panel and front fender rust. One of the most common areas for these cars to start rusting. The previous owner filled in the holes with newspaper and putty, and covered the whole area under the skegs with gravel gaurd, but the holes came throu
View fullsize  LS primed. Finally the body was getting worked on, the little dents and dings were being taken care of. At lest the trunk floor was in good shape.
View fullsize  RS primed 1.
View fullsize  RR primed.
View fullsize  Rs primed 2.
View fullsize  Driver side floor pan rust. Initially , it was my intention to bring the car in for body work and paint. Although the car was up on a hoist when I brought the car in to get an all encompassing assesment, the floor pans did not appear to be to bad. I
View fullsize  Passenger side toe board and floor pan rust. The cuprit here was a leaky heater core unit that went unattended to, lord knows how long, prior to mee aquiring the car. I found it odd that a square of the oringinal carpet was cut out, but under a make
View fullsize  Driver side pan cut out. I had the choice of just patching or cutting out the old pan and replace with new. I opted for new floor pan, it looks better.
View fullsize  Passenger side toe board and pan cut out.
View fullsize  Driver side floor pan welded into spot.
View fullsize  Passenger side toe board and floor pan welded into spot.
View fullsize  Passenger side toe boeard and floor pan angle 2
View fullsize  Driver side floor pan sealed and primed
View fullsize  Passenger side toe board and floor pan sealed and primed.
View fullsize  Fresh coat of Olympic White paint. What a difference from before. Nice shiny and uniform, as opposed to the orange peel, dust, and missed spots finish of the privious owners do it yourself job.
View fullsize  New rubber everywhere, including rubber gaskets under door handle, and door and trunk locks.
View fullsize  All the stainless along the skeg molding was straightened and poslished.
View fullsize  The trunk lid posed a bit of a problem because it was warped. How it got that way, I don't know. It did not follow the slope of the car, it bubbled up and one had to slam the lid down really hard to close it. Now it's fixed.
View fullsize  New trunk lining to match the original as closely as possible. Even the trunk motor is covered. The trunk motor has been refurbished. Now the trunk pops open when the activation button in the glove box is pushed, and the lid closes with the greatest
View fullsize  Another angle of trunk interior looking down on trunk motor.
View fullsize  New rubber, trunk lining, and cardboard.
View fullsize  Getting there slowly but surley, waiting for the trunk lid to be installed after taking the warp out of it.
View fullsize  Trunk lid installed.
View fullsize  Interior being installed.
View fullsize  Interior with new carpet, kick panels, floormats, and door sill.
View fullsize  New scripts. It is important that one knows what model your car is. I bought this car thinking that it was a Series 62, because that's what the previous owner said it was. Shortly, I discovered that it was a de Ville after learning how to decipher t
View fullsize hubcap.png
View fullsize  A closer look reveals how dull the stainless was,the faded and chipped paint, and the damage along the outer edge. I think that the previous owner would hit them with a hammer or the tire iron when applying them after a tire change.
View fullsize  There was a lot of damage around the edges, I had even considered getting my self a new used pair, but I think I would have had faced the same problem
View fullsize  The first thing was to find a company that could do the work neccessary to start the first phase of restoring my hubcaps. I went on line and found The Plating House in Concorde, Ontario. They asked me to send them some pics to assess whether or not
View fullsize  You could see that The Plating house did a phenomenal job.
View fullsize  A much closer look at the kind of work that was done along the edges. These caps were badly damaged.
View fullsize  A closer look at the ribbed and dished area as well as the hub itslef. I couldn't believe how shiny they are, they were so dull looking before, now I could see my reflection.
View fullsize  Although I had considered just putting the polished caps on the car, because they do look good and many owners of 61 Cadillacs do it. I decided that I wanted that original look and went one step further and sent them out to Cadillac Parts & Rest
View fullsize  Another look, a whole lot better than what I started off with.
View fullsize  A closer look at the detail. There is no way I could have done this myself. I don't have the time, skill, or patience to do it.

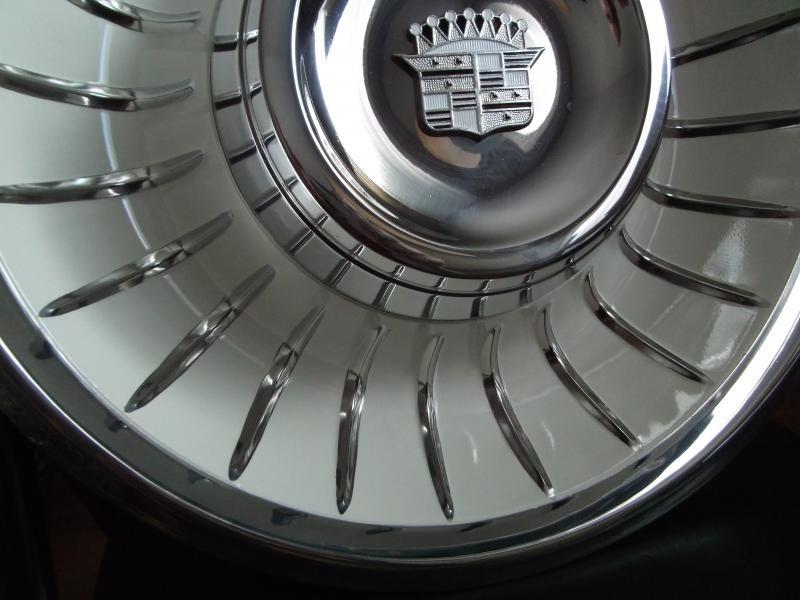
For more pictures of 1961 Cadillac's visit 1960's Cadillac Pictures!


  • Harley Davidson/
  • About/
  • Home/
  • Pictures/
    • Pinstriping
    • Custom Toys
    • Custom Lamps
    • Cool Items For Sale
  • Car Shows/
  • Cadillac Cruiser/
  • Contact/

Hartman Pinstriping

SERVICES

IMG_20201110_160733_363.jpg

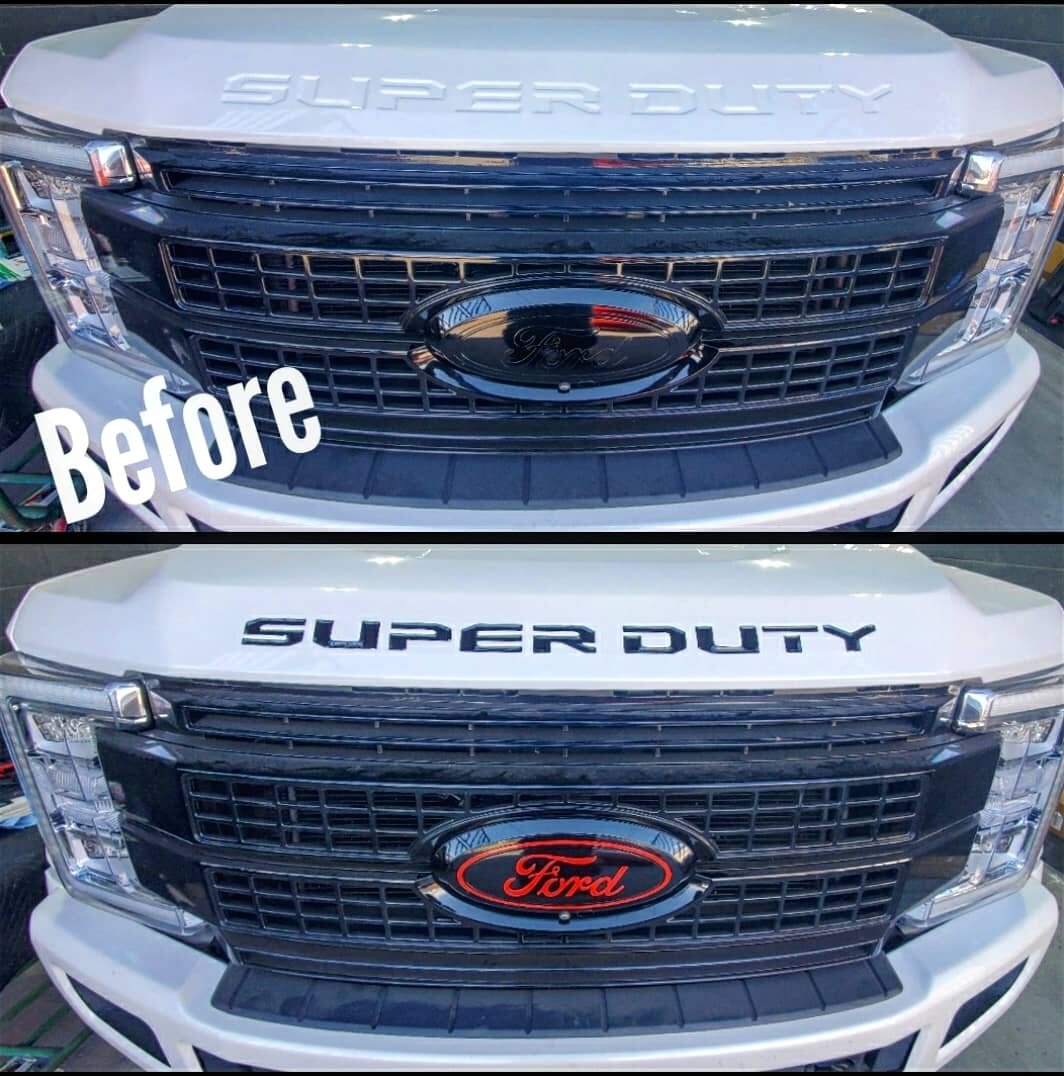
Embossed, raised letter painting. Emblems and trim color changes.

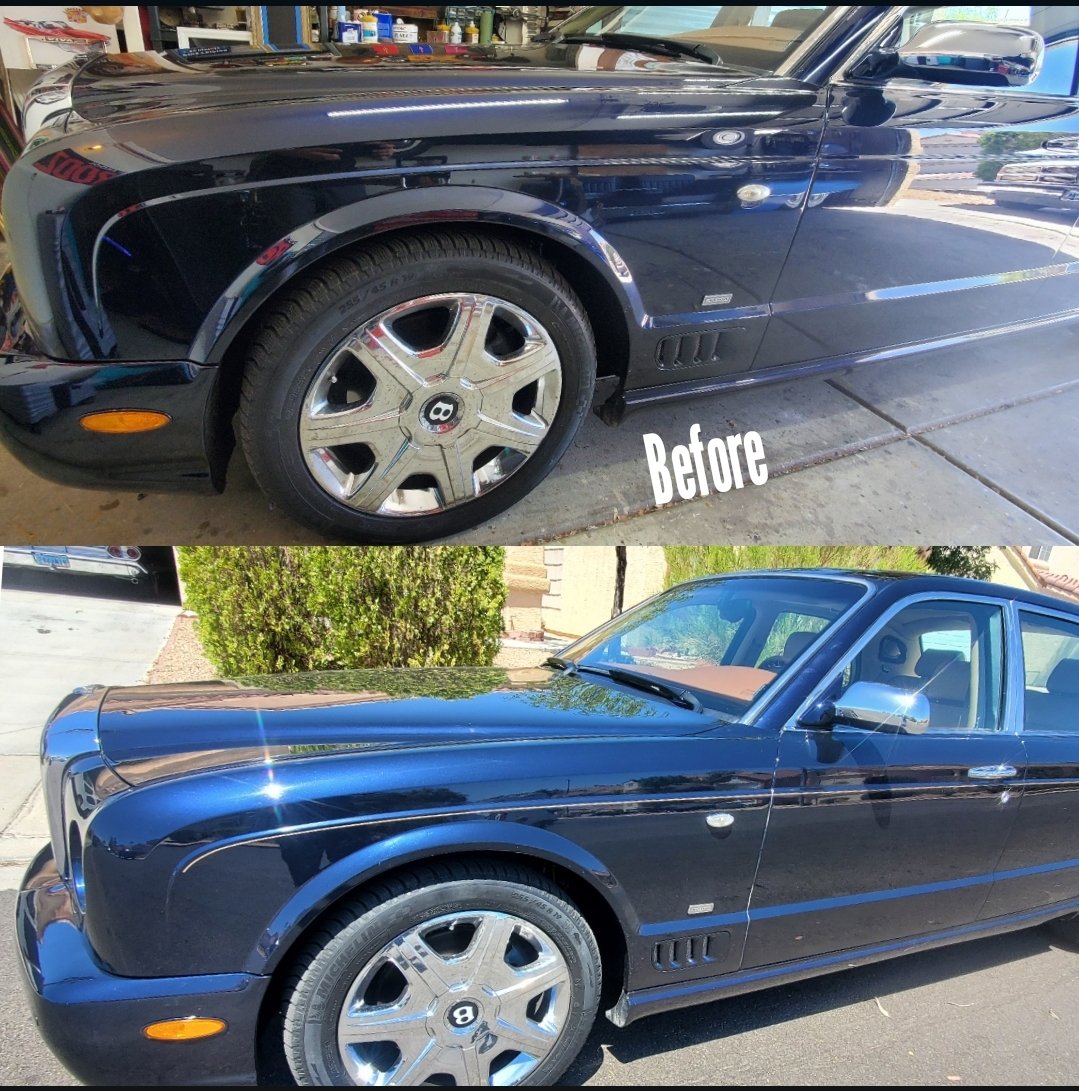
Professional hand painted line work on any type of vehicle.

IMG_20201130_183650_691.jpg

Wheel and center cap color changes.

IMG_20201008_174456_773.jpg

Lines and designs on all makes and models.

IMG_20201025_162523_093.jpg

Motorcycle original and custom hand painted pinstriping

IMG_20200828_122949_799.jpg

Vintage soda cooler lettering.

IMG_20200714_174924_643.jpg

Classic car trim painting.

IMG_20200117_105424_981.jpg

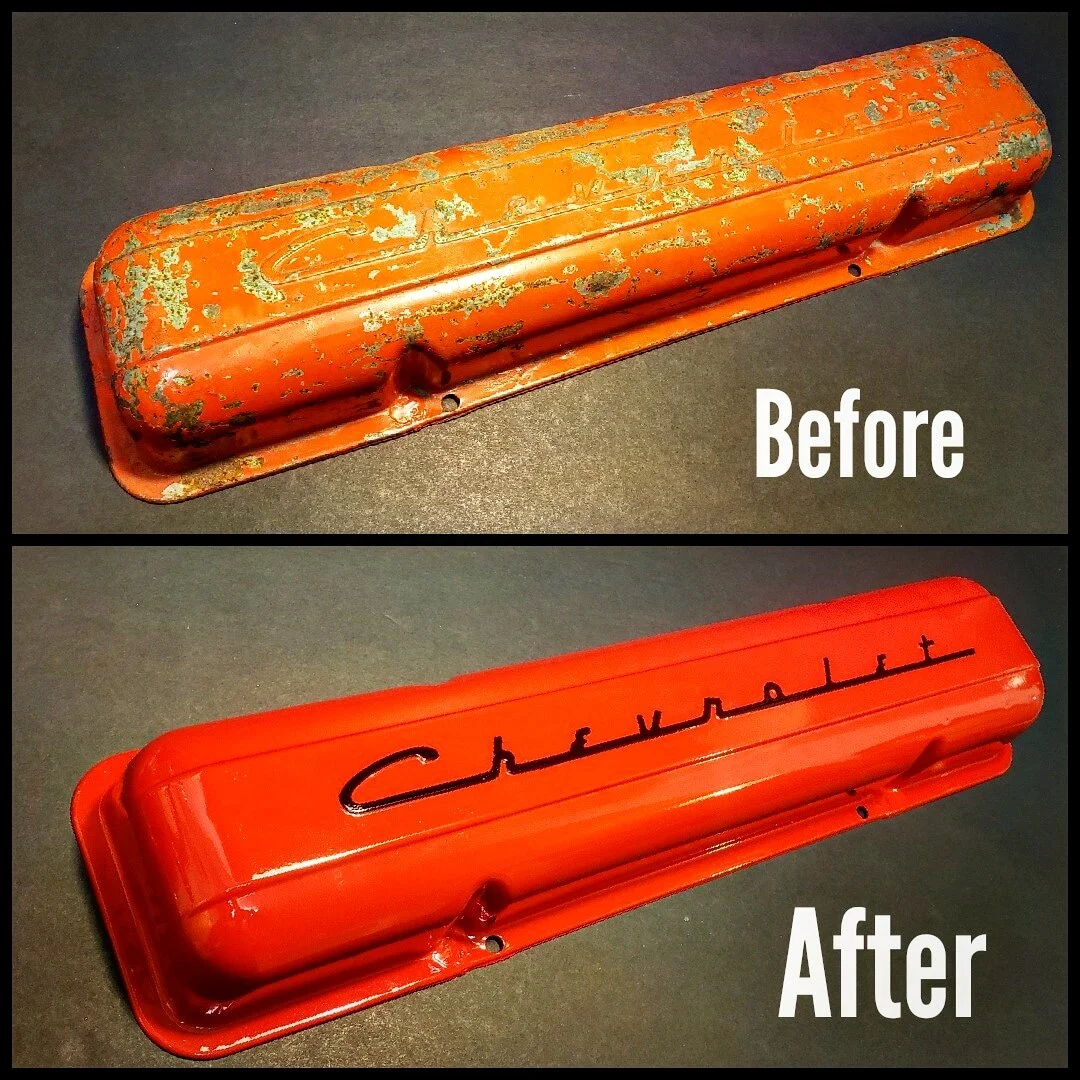
Valve cover restoration

Copyright 2020 LasVegasPinstriping.com